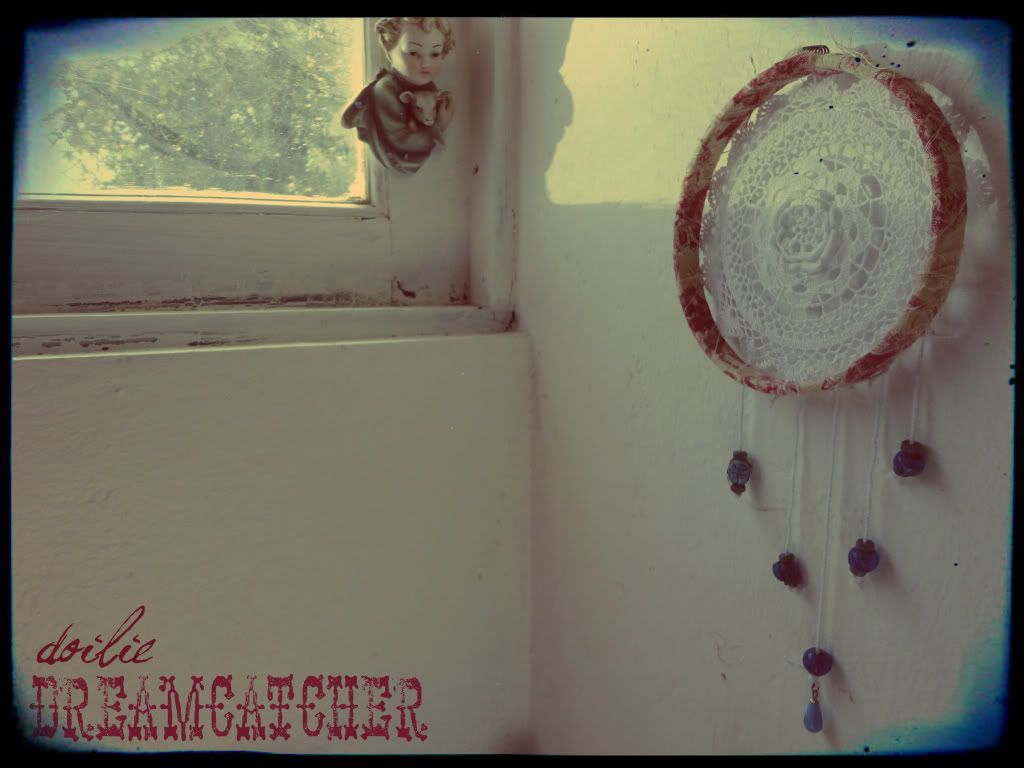
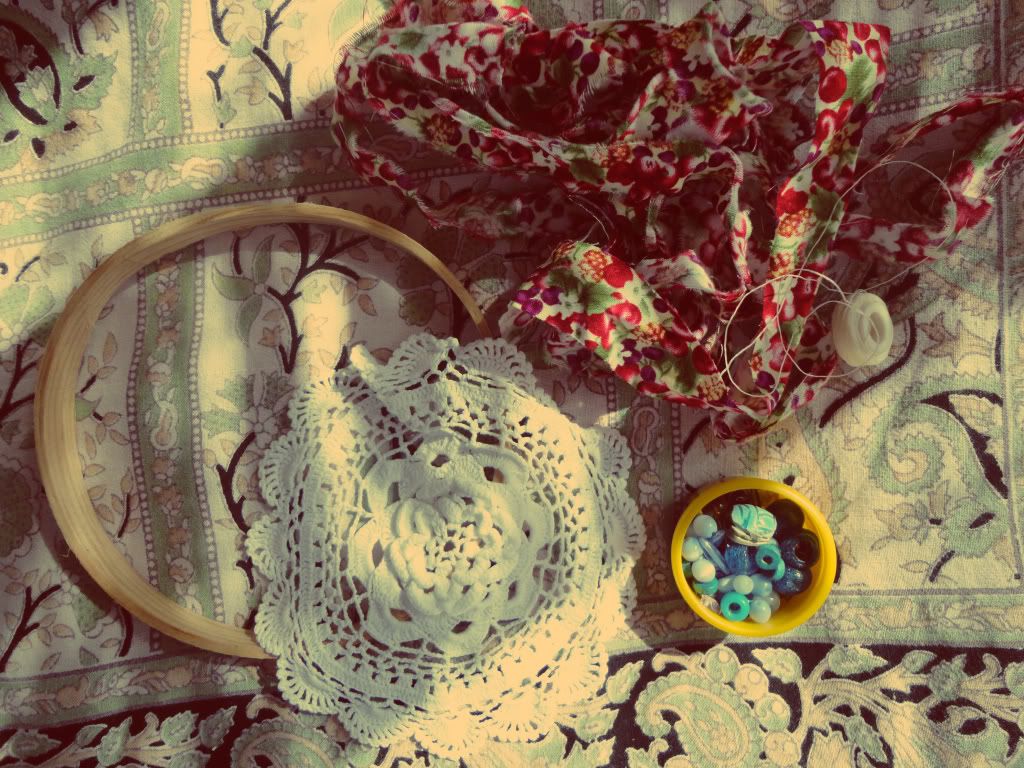
You will need:
*small doilie
*embroidery hoop (or any kind of hoop)
*strips of fabric (recycle what you have lying around!)
*hot glue gun *white cotton strin
*beading thread
*needle
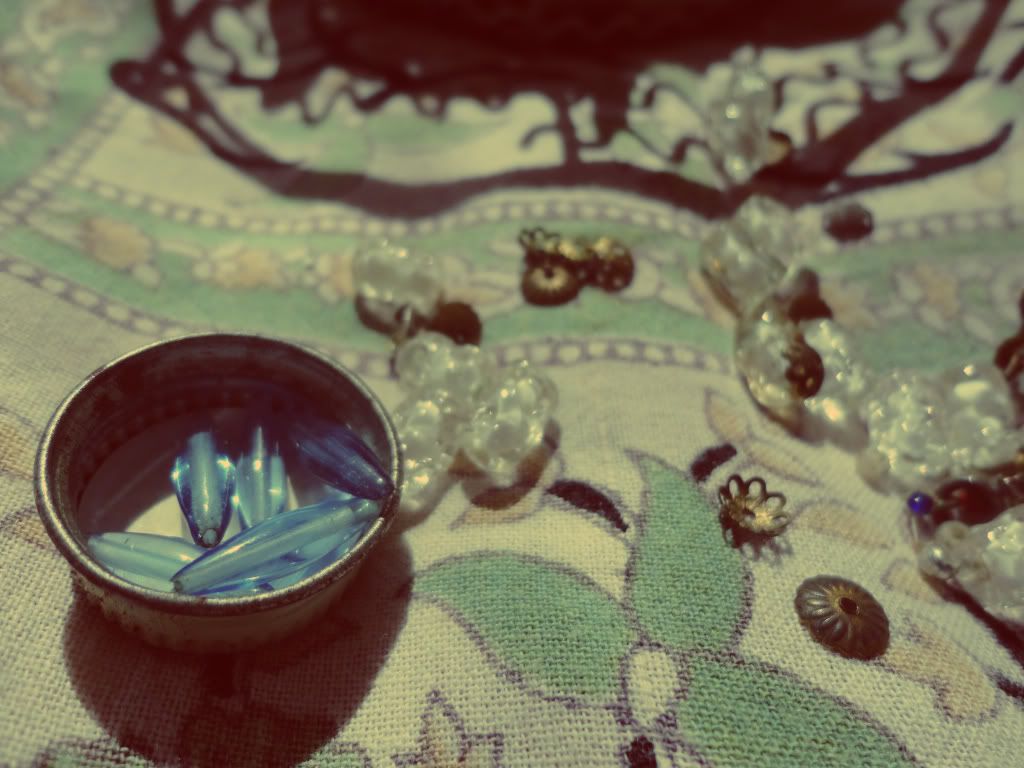
*beads and little treasures hidden in boxes that would otherwise go unused
Necesitarás:
*doilie (tapetito)
*aro para bordar (o cualquier aro)
*tiras de tela rasgada (¡recicla lo que encuentres por la casa!)
*pistola de silicón caliente
*cuerda de algodón blanco
*hilo de pescar
*aguja
*cuentas y tesoritos de joyeros que de otra manera quedarían en el olvido
Wrap and glue fabric (tute HERE)
Envuelva y pega la tela (tutorial AQUÍ)
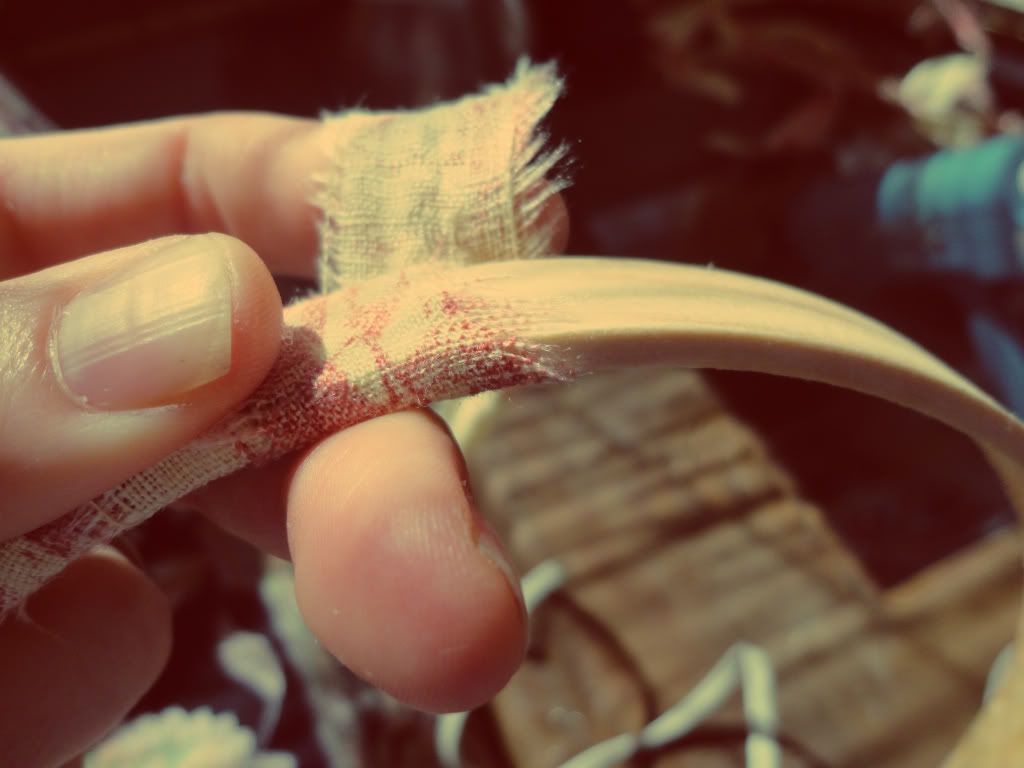
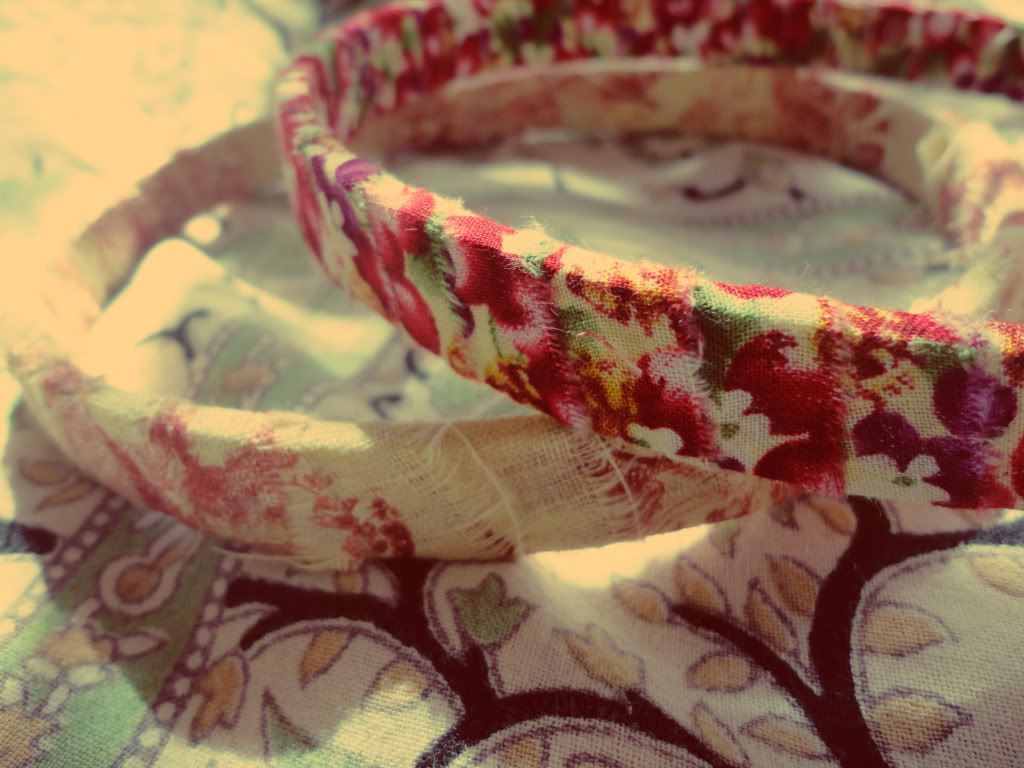
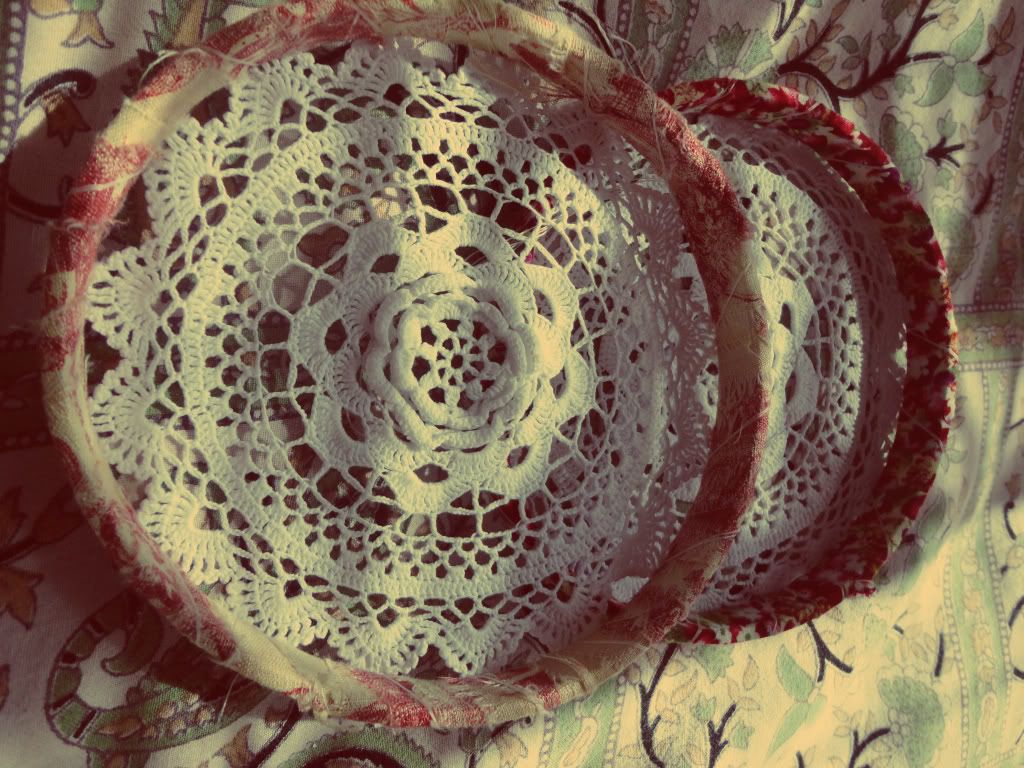
Embroidery hoops have 2 parts (one inside the other), take them apart. I used both hoops and made 2 dreamcatchers
Los aros para bordar tienen 2 partes (uno dentro del otro), separa las piezas. Yo utilizé ambos aros e hice 2 atrapasueños
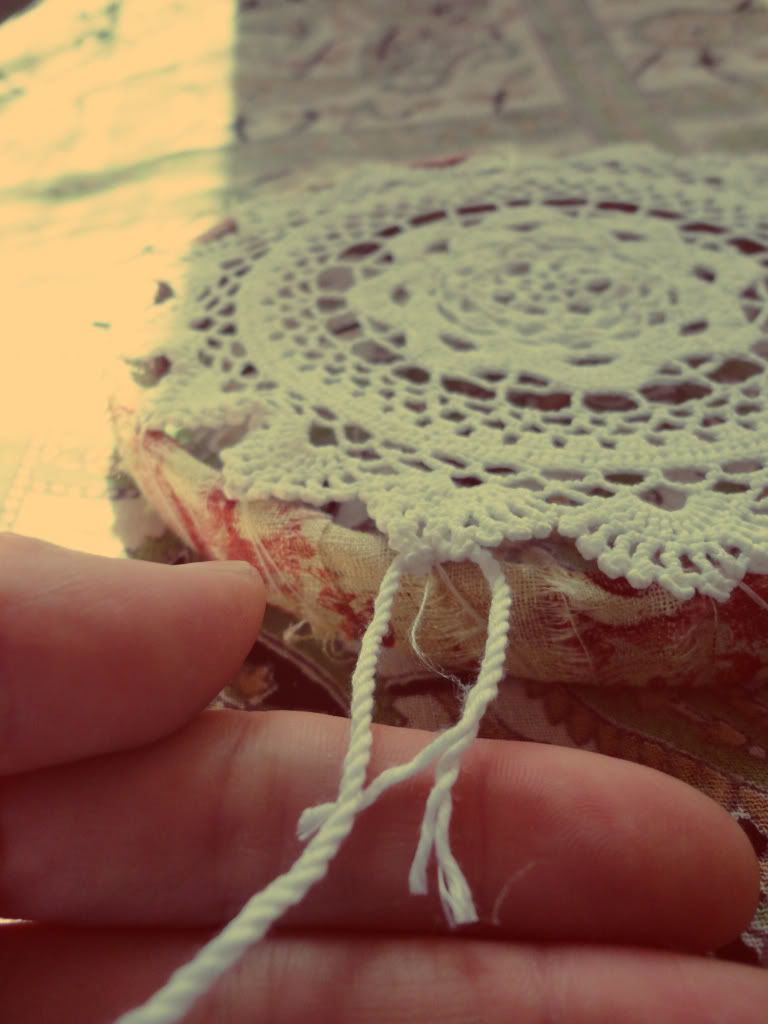
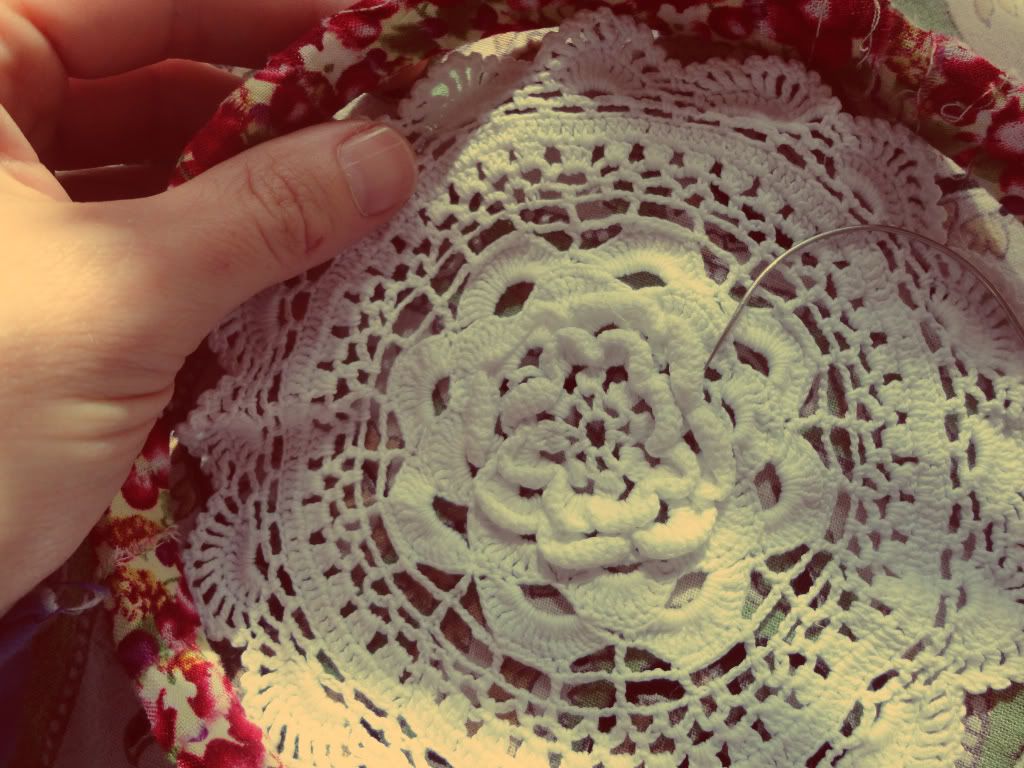
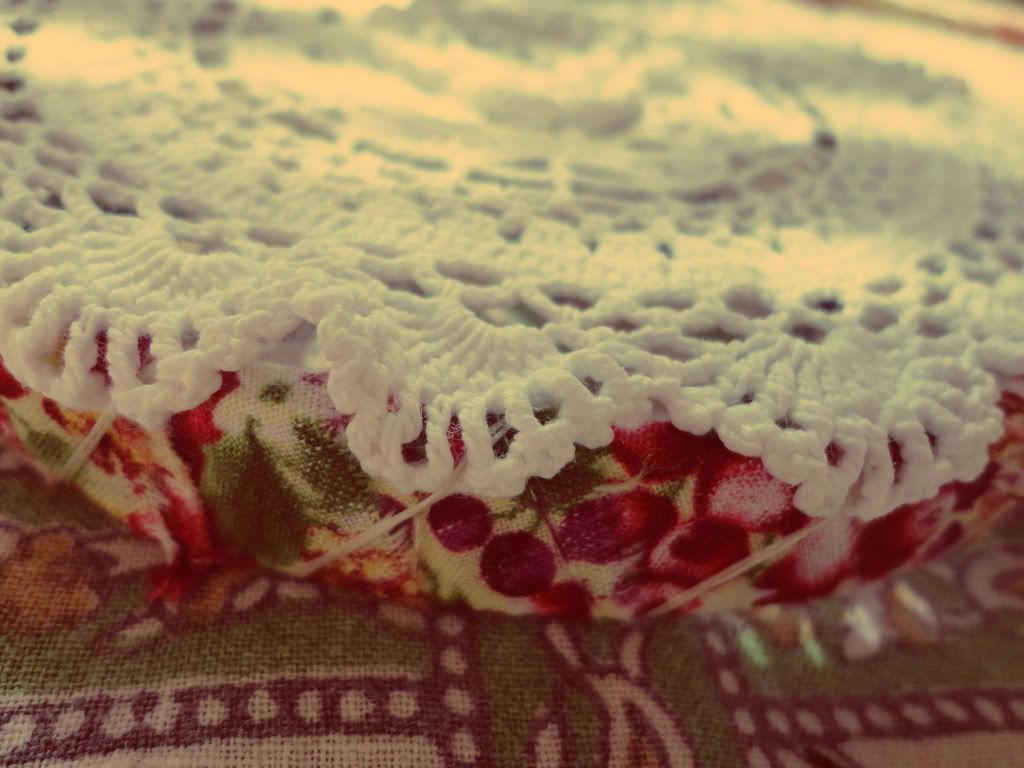
Using the beading thread and the needle, start wrapping the thread around the hoop and through the highest part of the doilie, joining both tightly together. Once you´re finished (BEFORE you tie the knot) tighten the thread once again (sort of like tightening shoelaces from the bottom up).
Usando el hilo y la aguja, empieza a envolver el aro, uniendo con el doilie, apretando conforme avanzas. Una vez que hayas terminado (ANTES de amarrar con un nudo) aprieta una vez más el hilo (como cuando aprietas las agujetas de un zapato de abajo hacia arriba).
Usando el hilo y la aguja, empieza a envolver el aro, uniendo con el doilie, apretando conforme avanzas. Una vez que hayas terminado (ANTES de amarrar con un nudo) aprieta una vez más el hilo (como cuando aprietas las agujetas de un zapato de abajo hacia arriba).
Once you´ve made it all the way around and tightened the thread, tie a tight knot joining both ends of the beading thread.
Una ves que hayas dado toda la vuelta, y apretado el hilo, amarra unfuerte nudo uniendo ambos extremos del hilo.
Push the doile down towards the "bottom" of the hoop and adjust with your hands. This way the hoop will frame the doilie.
Empuja el doilie hacia la parte "inferior" del aro y acomódalo con las manos. De esta manera el aro enmarcará el doilie.
Empuja el doilie hacia la parte "inferior" del aro y acomódalo con las manos. De esta manera el aro enmarcará el doilie.
Now, using wooden beads, glass beads, (feathers would be great...I didn´t have any) anything beautiful you find lying around, make the dreamcatcher hangings. I chose to use cotton string (so that it would match the doilie) and have the beads hanging off the very end, but you can make more elaborate hangings. Be sure to leave enough thread or string so as to tie it to the hoop.
Ahora, usando cuentas de madera, vidrio, (las plumas son lo ideal... pero yo no tenía) cualquier cosa linda que encuentres por ahí, crea lo que va a colgar del atrapasueños. Yo escogí usar cuerda de algodón blanco (para que combinara con el doilie) y colgar cuentas grandes hasta el final de la cuerda, pero puedes hacer creaciones mas complejas. No olvides dejar suficiente hilo o cuerda extra para poderlo amarrar al aro.
Once you´ve finished, grab your hangings and pass the extra string through the back of the hoop where the doilie meets the hoop, adjusting the length to where you like it best and separating them as much as you like. Tie them on with a knot. Then enjoy.
Una ves que hayas terminado los adornos, pasa el hilo de cada uno por la parte trasera del aro, donde el doilie se une con el aro, ajustando el largo a donde más te guste y separándolos o juntándolos como más te plazca. Amarralos con un nudo. Y a disfrutar.
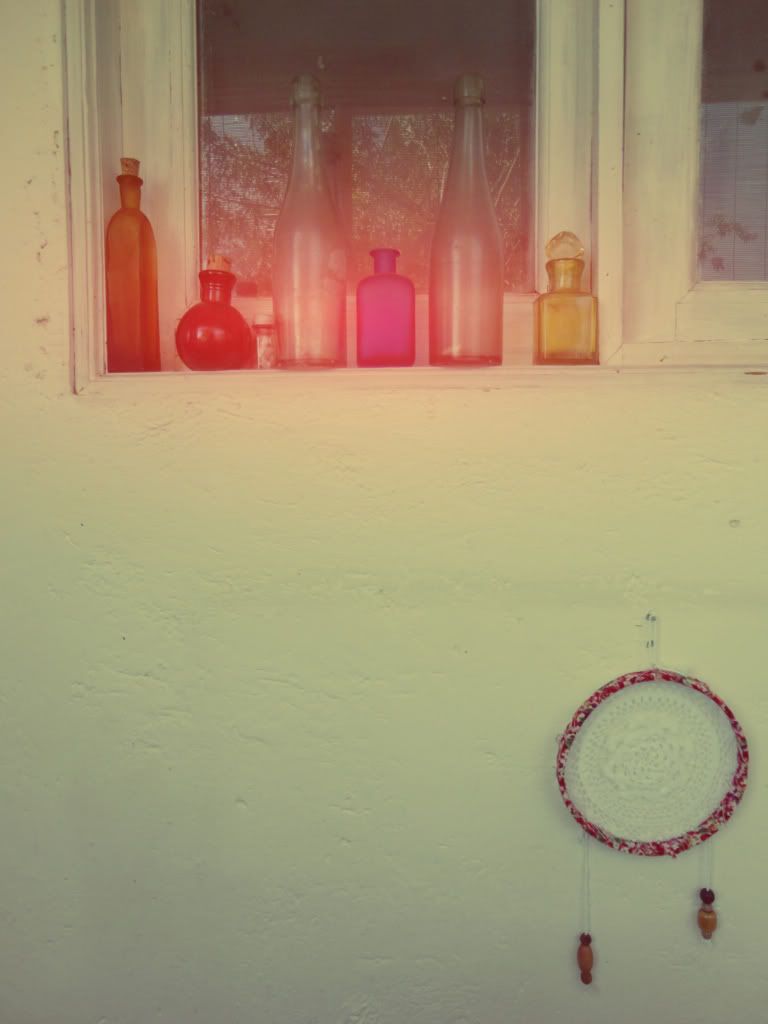
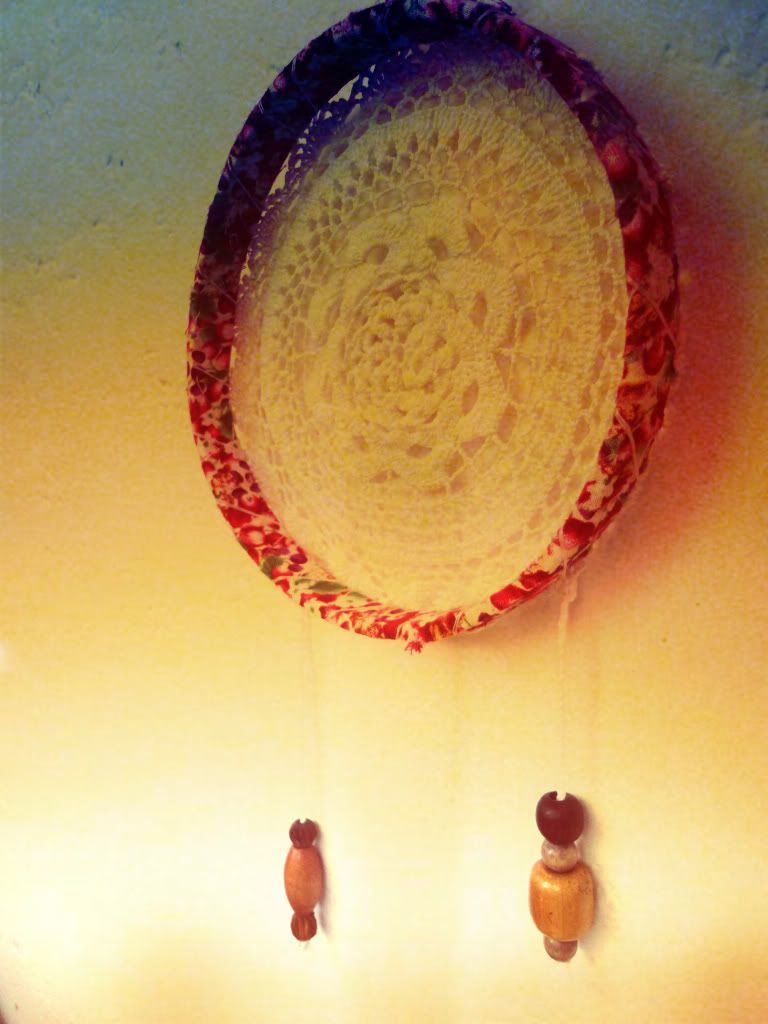
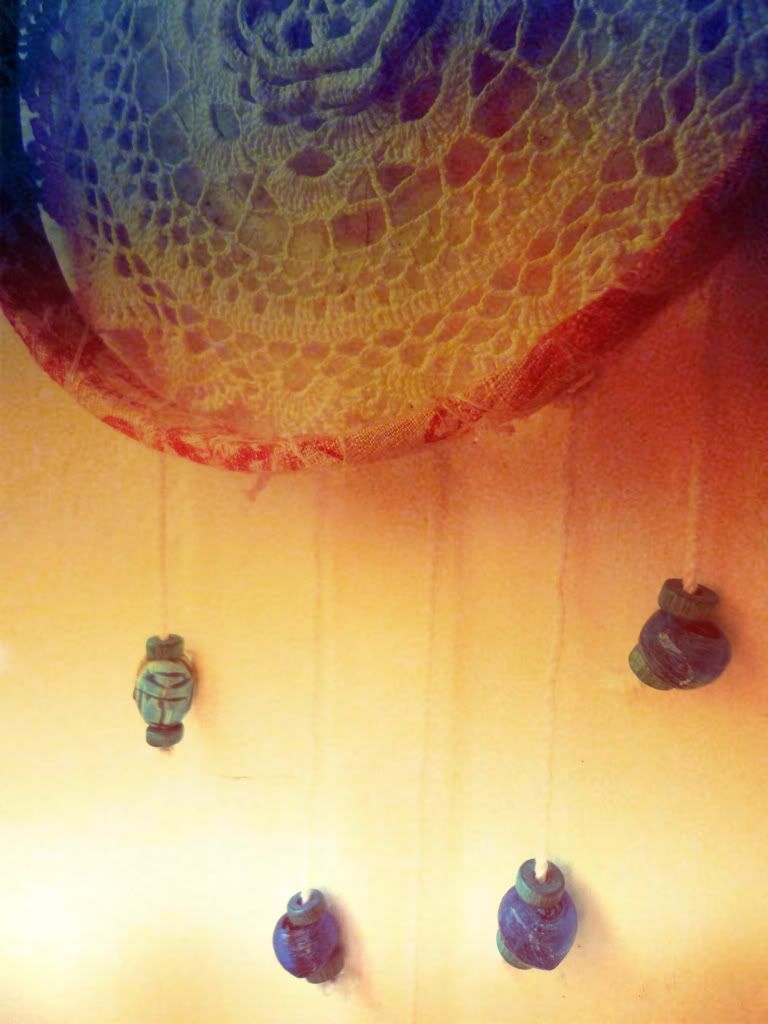
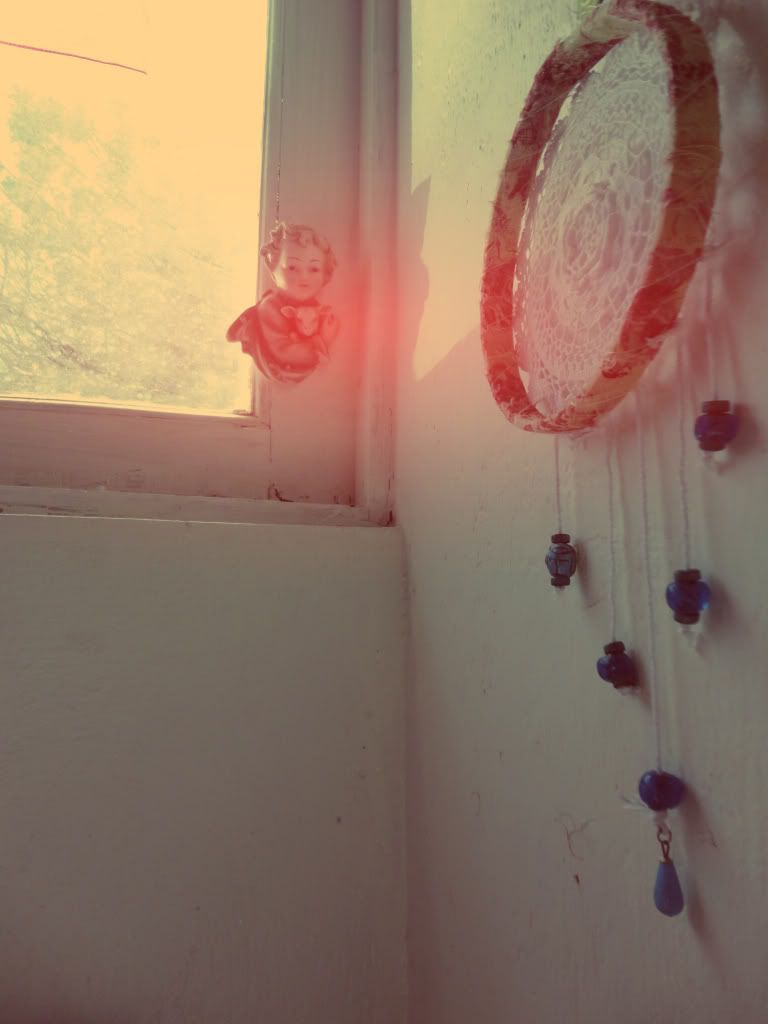
Sweet dreams
Dulces sueños

beautiful! thank you so much for being inspired by mine but making yours very different!
ReplyDeletexo,
laura
So sweet!
ReplyDeleteLove it! On my to do list for sure :)
ReplyDeleteClau, esta hermoso, quiero hacer uno, gracias por compartirlo... abrazos !
ReplyDeleteClau, esta precioso!!!
ReplyDeletetengo ganas de hacerlo ... despues te aviso!
que tengan (vos y tu family) un año llenos de cosas hermosas!
besote y abrazo!
hello, this is beautiful
ReplyDeletex
LOVE this idea!! Thanks for sharing it! ~tina
ReplyDeleteso pretty!
ReplyDelete