<< >>

____________________________________________________________________________________________________________________________________________


Showing posts with label Home Tutorial. Show all posts

Friday, December 21, 2012

a handmade christmas / una navidad hecha a mano

I love Christmas. I also love the simple life and handmade treasures. This year I made an extra effort so that most of our presents be handmade (except for books and those sturdy new jeans my fast growing teenager desperately needs). My whole family is making the effort of giving away handmade or vintage and, although it´s been a lot of hard work (this is one big peruvian-mexican-italian familia!), it´s made this month a very special one. We´re celebrating this Christmas and New Years at the beach and giving away our heart felt presents by the ocean, accompanied by those we love. That´s what living is all about. These are a few of my handmade gifts:

Amo la navidad. También amo la vida sencilla y los tesoros hechos a mano. Este año hice un gran esfuerzo para que la mayor parte de nuestros regalos fueran hechos a mano (con excepción de libros y los pantalones de mezclilla que mi adolescente en crecimiento necesita con desesperación). Mi familia entera está haciendo el esfuerzo por regalar hecho a mano o vintage y, a pesar de que ha implicado mucho trabajo (¡amo a mi gran familia peruana-mexicana italiana!), ha hecho de este mes uno muy especial. Estamos celebrando esta Navidad y Año Nuevo en la playa y entregando nuestros regalitos del corazón frente al mar, acompañados de nuestros seres queridos. De eso se trata vivir. Estos son algunos de los regalos que he creado:

Photobucket
Photobucket
Photobucket
Photobucket

Here are some of the wonderful tutorials that helped me through this Christmas adventure:

Estos son algunos tutoriales maravillosos que me ayudaron a lograr esta aventura Navideña:


Thursday, August 16, 2012

a An owl, a garland and other summer creations / Un búho, una guirnalda y otras creaciones de verano

Photobucket
Photobucket
Photobucket
Photobucket

owl backpack tutorial here
(I didn´t follow the pattern as one should, I adjusted and made things up on the way, but it was major help and inspiration)
garland pattern here
Willow doily blanket pattern here
my little G´s kitchen sink made with a kitchen bowl and reclaimed wood
my big G´s art apron I made from an old pair of jeans he had grown out of

♥♥♥♥♥♥♥♥♥♥♥♥♥♥♥♥

tutorial de mochila de búho aquí
(no seguí las instrucciones al pie de la letra, ajusté e inventé conforme fui avanzando, pero fue de mucha ayuda y gran inspiración)
patrón de guirnalda aquí
patrón de manta Willow aquí
el lavabo de cocina de mi pequeña G hecho de un tazón de mi cocina y madera reciclada
el mandíl de arte de mi G grande que hice con unos jeans que ya no le quedaban

Saturday, May 12, 2012

Picasso belt hanger / colgador de cinturones a la Picasso

I enjoy crooked. I find beauty in things asymetrical and uneven. Imperfect is my idea of perfection. So this is, many times, how i go about life. Enjoying and rejoicing used, old and sometimes forgotten treasures.
I have had a long time need for getting by belt act together. It´s funny how certain things can inspire me in areas of my life where, apparently, there is no relation whatsoever. But that is why life, and all it´s unpredictabilities can be so exciting. Picasso did inspire a simple belt hanger. Just as grandious works of art are sometimes inspired by upmost simplicity. This just happened the other way around. Simple. Crooked. Useful. Enjoy!

Disfrtuto de lo chueco. Encuentro belleza en cosas asimétricas y disparejas. La imperfección es mi idea de perfecto. Asi que esta es la manera que la que, muchas veces, me muevo por la vida. Disfrutando y admirando tesoros viejos y usados, a veces olvidados.

He tenido seria necesidad de ponerle orden a mis cinturones por bastante tiempo ya. Es gracioso como algunas cosas me pueden inspirar en áreas de mi vida donde, aparentemente, no hay relación alguna. Pero esa es la razón por la cual la vida, y lo impredecible que es, puede ser tan emocionante. Picasso inspiró un simple colgador de cinturones. Así como grandes obras de arte son a veces inspirados por la simpleza más absoluta. Nadamas que esto sucedió al revés. Simple. Chueco. Útil. ¡Disfruten!

  Photobucket 
 Necesitarás:
gancho de ropa
pinzas
pistola de silicón caliente
retazos de tela en tiras

You will need:
Photobucket

aprieta y comienza a darle forma a tu gancho de ropa
 
Photobucket

de la siguiente manera...
 
Photobucket

con pinzas, aprieta y aplasta las puntas dobladas del gancho de ropa

Photobucket

pistola de silicón caliente:
coloca un poco en la punta de unos de los extremos de tu gancho
(la parte de acabas de apretar con las pinzas)

Photobucket

Asi:
Ahora comienza a envolver las tiras de tela alrededor del gancho, reaplicando el silicón caliente aproximadamente cada 2 cm

Photobucket

asi
(porfavor perdonen mos uñas de jardinera)

Photobucket

continúa envolviendo hasta darle toda la vuelta al gancho


Photobucket

borla arrugada y chistosa solo porque si

Photobucket

Photobucket

 Photobucket

Tuesday, January 17, 2012

little closet tute / tutorial mini closet

Photobucket

This is the funky little closet I made for my sweet G and her beloved dolls.
I used:
Este es el mini-closet que hice para mi dulce G y sus amadas muñecas.
Utilizé:

an old wooden crate (I promise to paint... promise!) / un "huacal" viejo (que prometo pintar... ¡lo prometo!)
wire /alambre
pliers / pinzas
an old clothes hanger (or wooden stick to hang the tiny clothes hangers) / un gancho para ropa (o palo de madera para poder colgar los mini ganchitos)
left over fabric / retazo de tela
zig-zag scissor / tijera de "zig-zag"


to make the mini clothes hangers:
fold over stick to shape the round part of the hanger

para hacer los mini ganchitos para ropa:
doble por encima de un palo para darle la forma redonde al ganchito
Photobucket

Calculate how small (or large) you want the hanger to be. Cut. Fold like so:

Calcula que tan chico (o grande) quieres que sea el ganchito. Corta. Doblar de la siguiente manera:
Photobucket

Twist and twist some more, helping yourself with the pliers.

Tuerce y tuerce un poco más, ayudándote con las pinzas.
Photobucket

finish giving it the desired shape and form with your hands


termina de darle forma con tus manos
Photobucket

Photobucket

Photobucket

Photobucket

For the curtain, a lazy Sunday mamita just:

Para la cortina, la mamita con flojers de domingo solo:

1. grabed left over fabric / agarré retazo de tela
2. cut a rectangular shape that would cover the front with a zig-zag scissor (to avoid sewing... yes... lazy Sunday) / lo corté en forma rectangular para tapar el frente con tijera de "zig-zag" (para evitar coser... si... flojera de domingo)
3. cut down the middle of the fabric (not all the way to the top) / corté a lo largo del centro de la tela (no hasta arriba)
4. tacked the fabric to the top of the crate / fije la tela con tachuelas (chinches) al la parte superiror del huacal
5. tied the fabric to the side of the crate / amarré la tela a los costados del huacal
6. organized / organizé
7. celebrated / celebré

Photobucket

Organizing and having fun with "garbage"

Organizando y pasandola bien con "basura"

Sharing on:
Tip Junkie / The Shabby Nest / Somewhat Simple / Crafty Sasse Wednesday

Tuesday, January 10, 2012

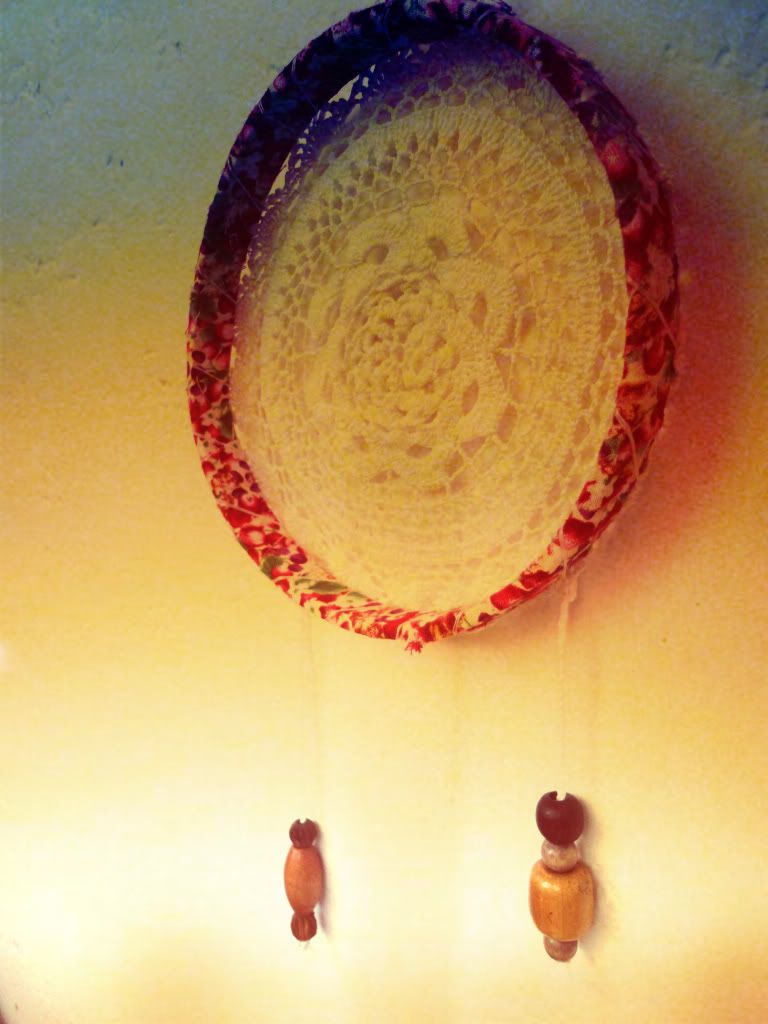
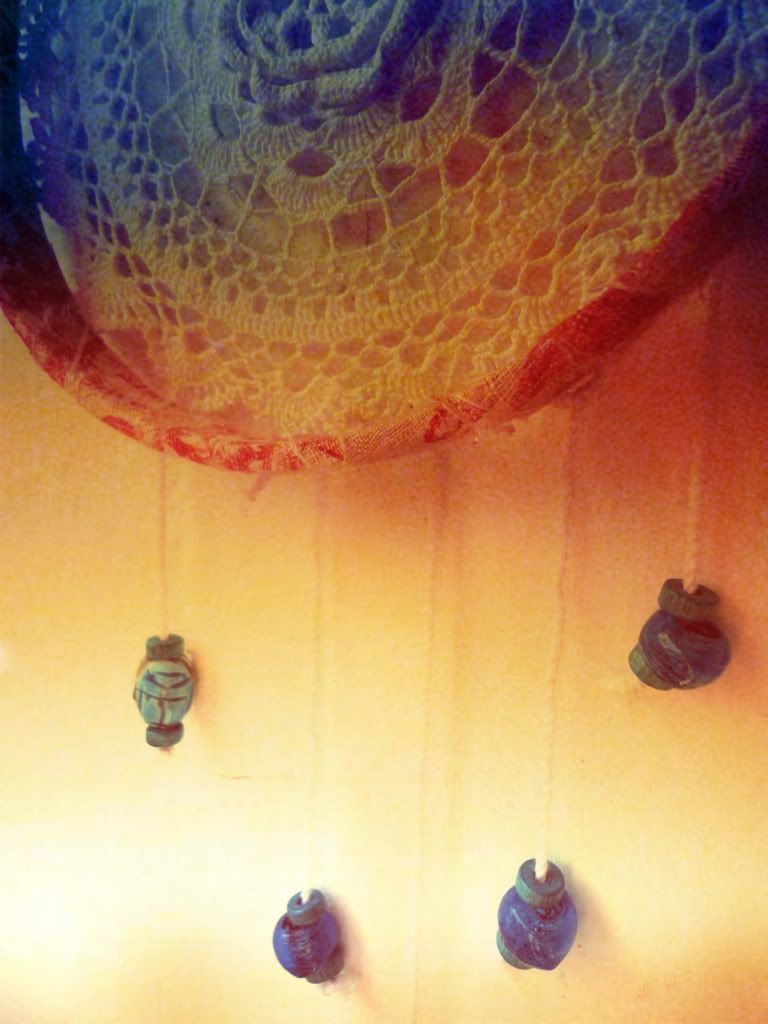
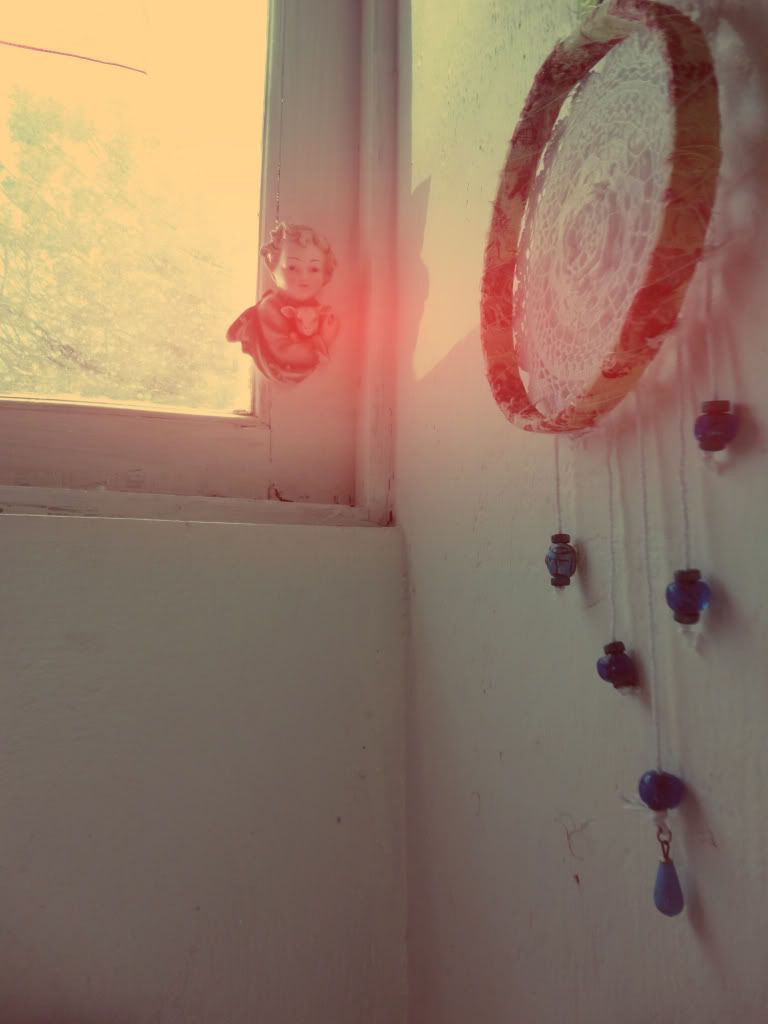
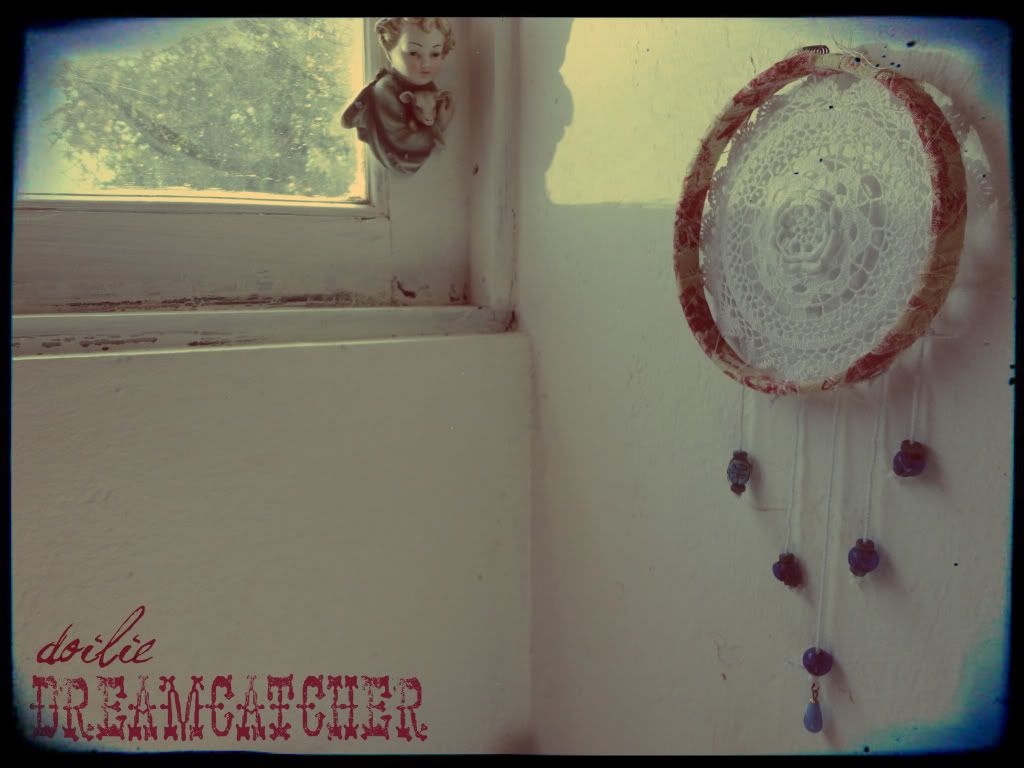
Featherless Dreamcatcher Tutorial / Atrapasueños sin Plumas: Tutorial

Photobucket

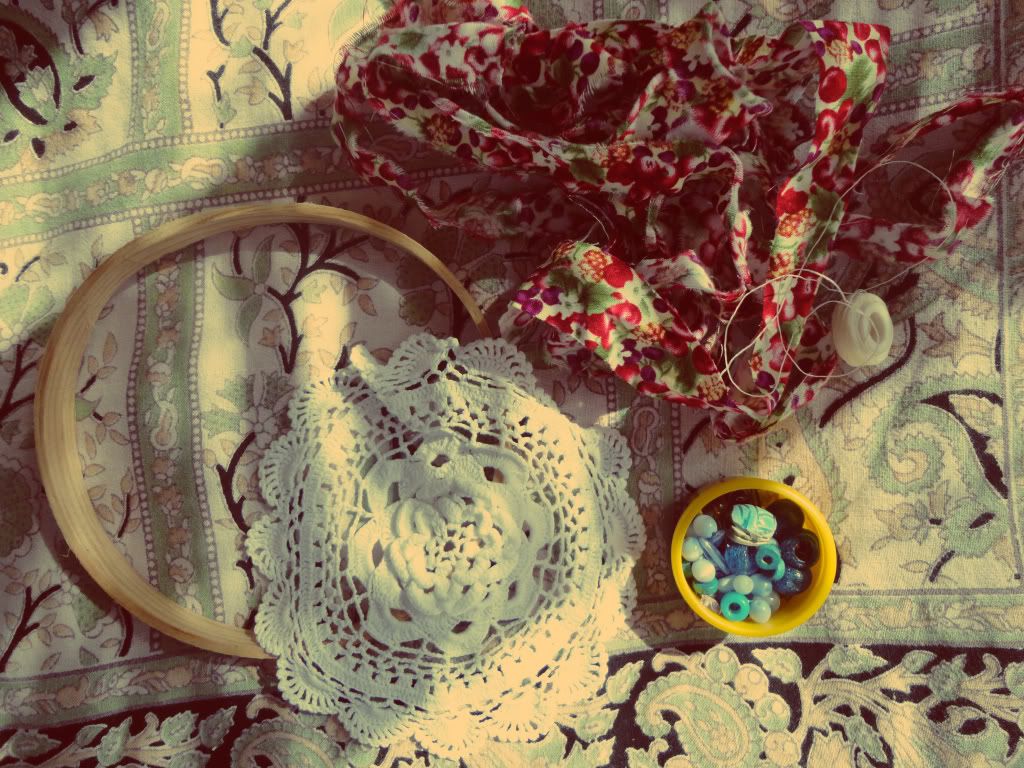
You will need:
*small doilie
*embroidery hoop (or any kind of hoop)
*strips of fabric (recycle what you have lying around!)
*hot glue gun *white cotton strin
*beading thread
*needle
*beads and little treasures hidden in boxes that would otherwise go unused

Necesitarás:
*doilie (tapetito)
*aro para bordar (o cualquier aro)
*tiras de tela rasgada (¡recicla lo que encuentres por la casa!)
*pistola de silicón caliente
*cuerda de algodón blanco
*hilo de pescar
*aguja
*cuentas y tesoritos de joyeros que de otra manera quedarían en el olvido
Photobucket

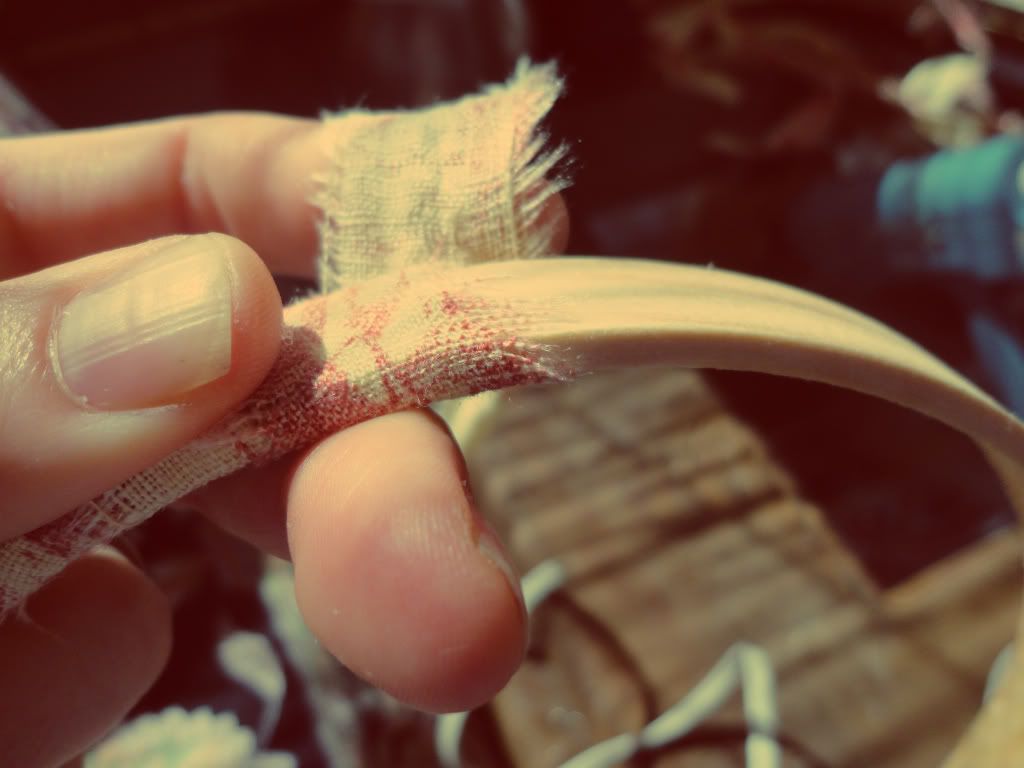
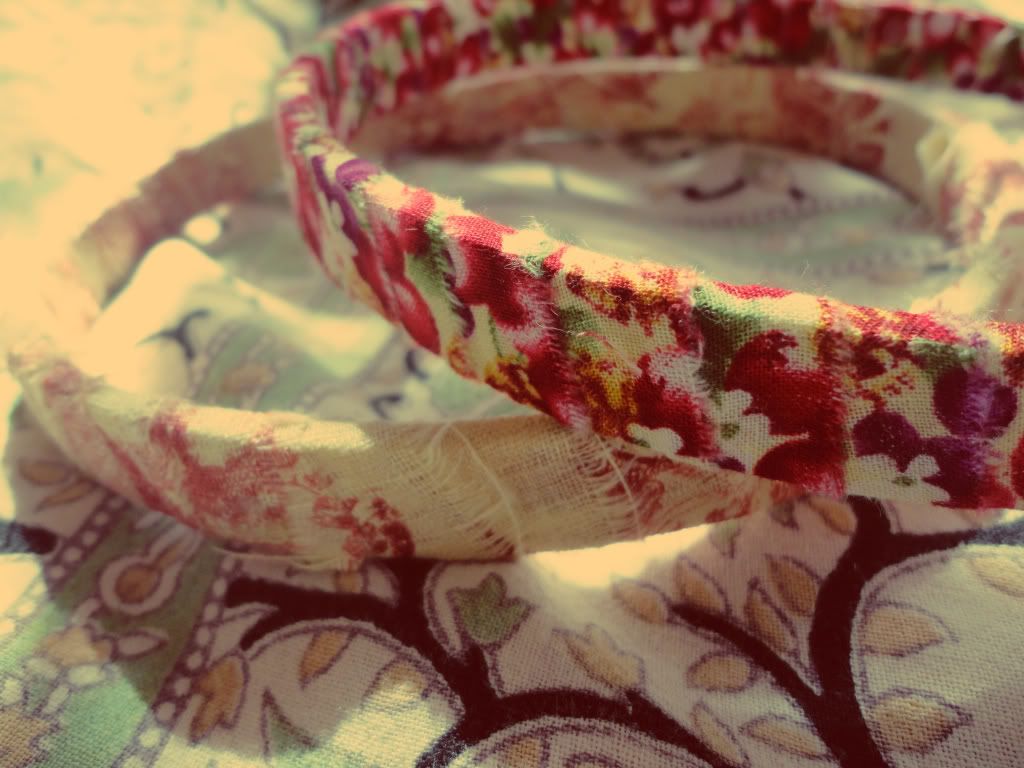
Wrap and glue fabric (tute HERE)

Envuelva y pega la tela (tutorial AQUÍ)
Photobucket

Embroidery hoops have 2 parts (one inside the other), take them apart. I used both hoops and made 2 dreamcatchers

Los aros para bordar tienen 2 partes (uno dentro del otro), separa las piezas. Yo utilizé ambos aros e hice 2 atrapasueños
Photobucket

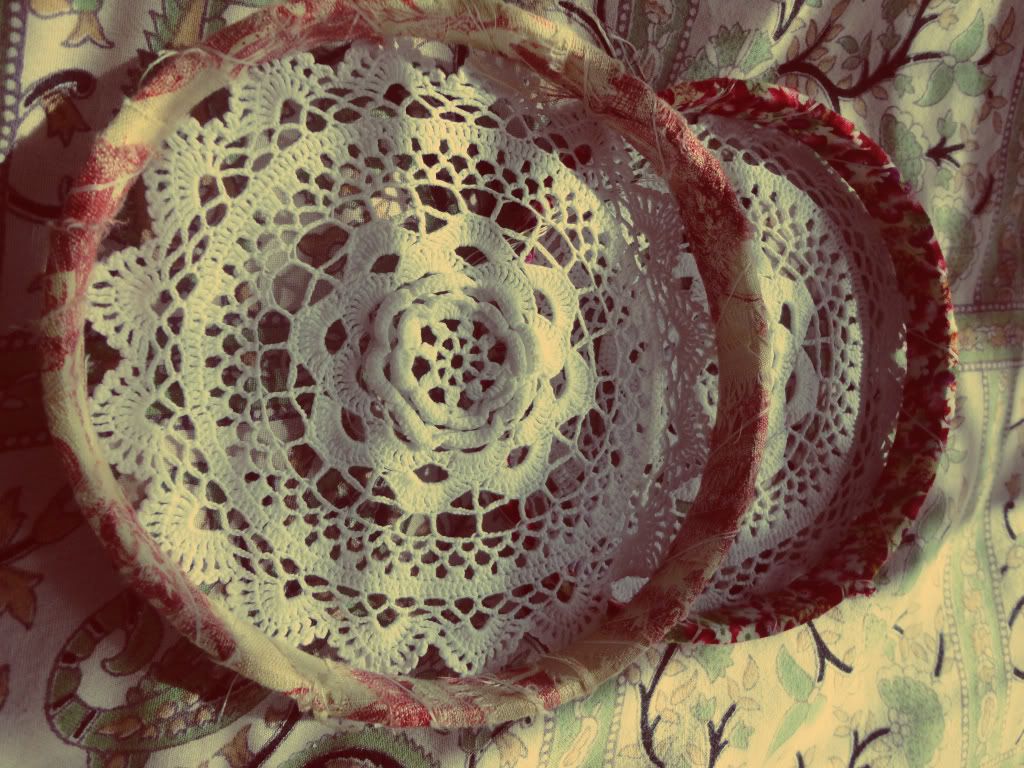
Using the beading thread and the needle, start wrapping the thread around the hoop and through the highest part of the doilie, joining both tightly together. Once you´re finished (BEFORE you tie the knot) tighten the thread once again (sort of like tightening shoelaces from the bottom up).

Usando el hilo y la aguja, empieza a envolver el aro, uniendo con el doilie, apretando conforme avanzas. Una vez que hayas terminado (ANTES de amarrar con un nudo) aprieta una vez más el hilo (como cuando aprietas las agujetas de un zapato de abajo hacia arriba).

Photobucket

Once you´ve made it all the way around and tightened the thread, tie a tight knot joining both ends of the beading thread.

Una ves que hayas dado toda la vuelta, y apretado el hilo, amarra unfuerte nudo uniendo ambos extremos del hilo.

Photobucket

Push the doile down towards the "bottom" of the hoop and adjust with your hands. This way the hoop will frame the doilie.

Empuja el doilie hacia la parte "inferior" del aro y acomódalo con las manos. De esta manera el aro enmarcará el doilie.
Photobucket

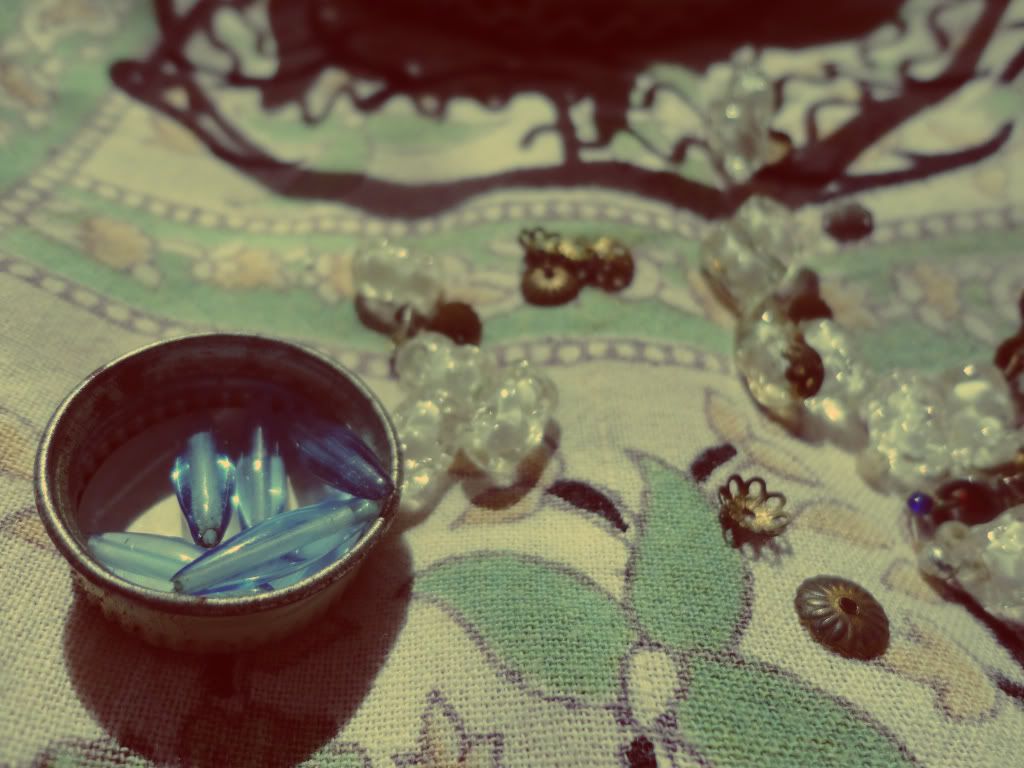
Now, using wooden beads, glass beads, (feathers would be great...I didn´t have any) anything beautiful you find lying around, make the dreamcatcher hangings. I chose to use cotton string (so that it would match the doilie) and have the beads hanging off the very end, but you can make more elaborate hangings. Be sure to leave enough thread or string so as to tie it to the hoop.

Ahora, usando cuentas de madera, vidrio, (las plumas son lo ideal... pero yo no tenía) cualquier cosa linda que encuentres por ahí, crea lo que va a colgar del atrapasueños. Yo escogí usar cuerda de algodón blanco (para que combinara con el doilie) y colgar cuentas grandes hasta el final de la cuerda, pero puedes hacer creaciones mas complejas. No olvides dejar suficiente hilo o cuerda extra para poderlo amarrar al aro.
Photobucket

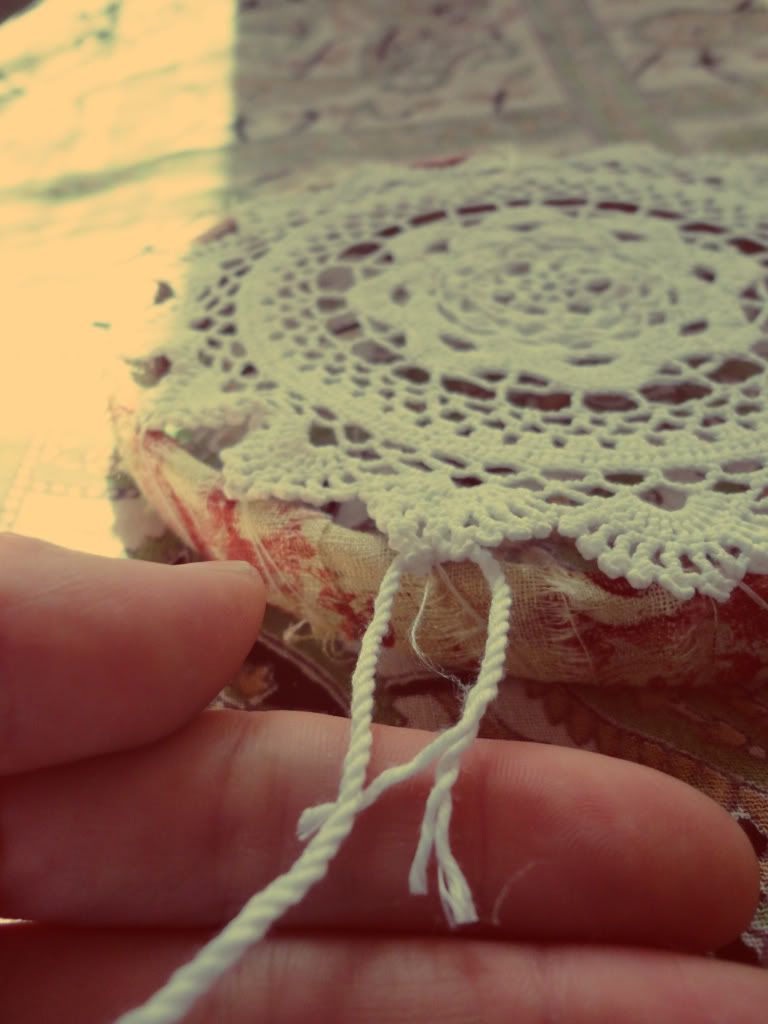
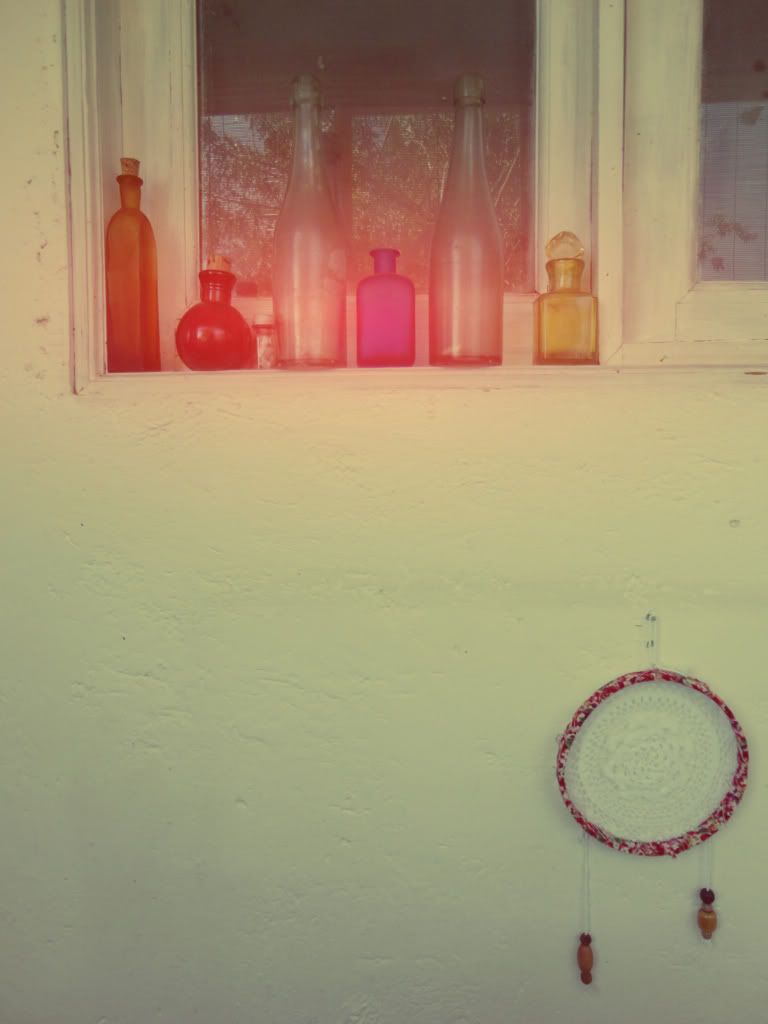
Once you´ve finished, grab your hangings and pass the extra string through the back of the hoop where the doilie meets the hoop, adjusting the length to where you like it best and separating them as much as you like. Tie them on with a knot. Then enjoy.

Una ves que hayas terminado los adornos, pasa el hilo de cada uno por la parte trasera del aro, donde el doilie se une con el aro, ajustando el largo a donde más te guste y separándolos o juntándolos como más te plazca. Amarralos con un nudo. Y a disfrutar.
Photobucket


Photobucket

Photobucket

Photobucket

Photobucket

Sweet dreams
Dulces sueños

Saturday, October 22, 2011

Crochet Obsessed / Obsesión Crochet

I´m obsessed with making round crochet pillows for my bohemian-chic living room. In my attempts to find a way of making these myself, I found this image at The Hungry Knitter. EVERYTHING about this picture drives me love-crazy.

Estoy obsesionada con hacer cojines de crochet redondos para mi salita estilo "bohemian-chic". En mis intentos por encontrar una manera de poder crear esto yo misma, encontré esta imagen en The Hungry Knitter. TODO lo que hay en esta foto me vuelve loca de amor.
(source)


I´m also planning to make a few pillows with crochet edges to balance the knit out with some cotton fabric.


También planeo hacer algunos cojines con bordes de crochet para equilibrar el tejido con algo de algodón.


I found THESE beautifuls that are waaaay out of my beginners leaugue, but still inspire me silly.

Encontré ESTAS hermosuras que están muuucho más allá de mis capacidades de principiante, pero aún así, me inspiran hasta el mareo.


But what made me the happiest was discovering Easy Makes Me Happy. Tara, the creative godess behind this blog, shared this amazing TUTORIAL and made my day!

Pero lo que me hizo lo que me causó la sonrisa más grande fué descubrir a Easy Makes Me Happy. Tara, la mente creativa detrás de este blog, compartió este increíble TUTORIAL e hizo de mi día uno aún más alegre.


Friday, May 13, 2011

recycle & refab / recicla y glamifica: a la Shabby Chic

Glamificando Ganchos de Ropa

Necesitarás:
*ganchos de ropa que depriman y entristezcan la vista
*pistola de silicón
*tiras de retazos de tela

You´ll need:


¡Vuélvete loc@ rasgando en tiras tus retazos de tela de todos los colores y sabores!

Primera gota de silicón:


Sostén la tela encima hasta que seque el silicón...¡sin quemarte porfavor!

careful: HOT!
Ahora:
Coloca la siguiente gota de silicón y envuelve la tela, procurando tapar el borde del inicio de tu tira. Coloca otra gota de silicón, y envuelve la tela alrededor del gancho. Repite esto pasos envolviendo todo el gancho. Cuando se termine una tira de tela, comienza con otra (de la misma manera) ¡pero experimenta contrastando con distintas telas y colores!

try to cover the flap of fabric on the first wrap around

Repeat these steps until you´ve wrapped the entire coat hanger. Try mixing and matching different fabrics!


Some clothes just need to hang pretty (or maybe all clothes!)

Algunas prendas simplemente piden colgar con elegancia (¡o quizá toda la ropa!)


Bye, bye yucky looking plastic!
HAVE FUN & DON´T FORGET TO SHARE!

¡Adiós al horrendo plástico!
¡DIVIÉRTANSE Y NO OLVIDEN COMPARTIR!


LOVE TO SHARE!


Somewhat Simple

Todays Creative Blog